Table of Contents
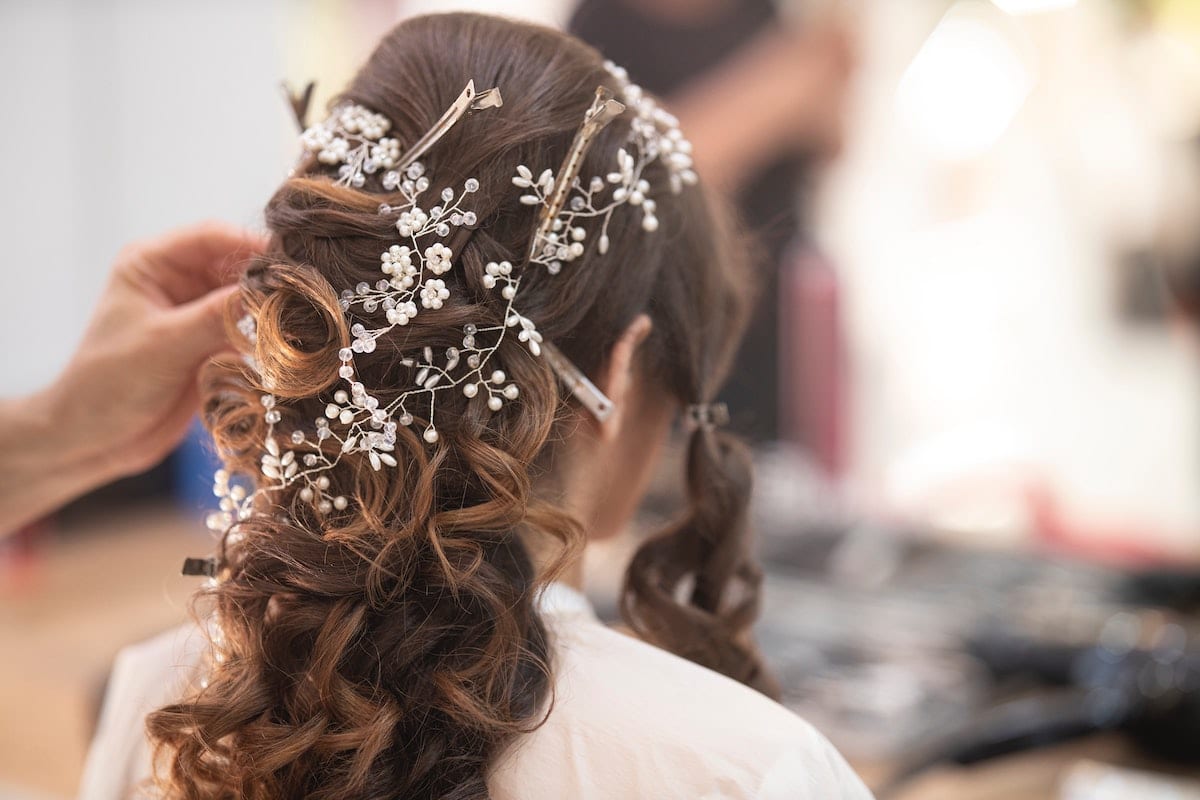
As you search Pinterest and Instagram for inspiration for the perfect bridal hairdos for your wedding, know that all of them have one thing in common: clip-in hair extensions. Clip-in hair extensions are a wedding favourite for both brides and bridesmaids alike as these can easily be installed and removed and are extremely light to carry.
All of the hairstyles in your bridal inspiration Pinterest boards feature, and given below is a step-by-step breakdown of how you can incorporate clip-in hair extensions in your bridal hairdo:
Step 1: Choose your hairdo and extensions
The very first step is choosing a hairdo and the right type of hair extensions. Try to get an easy to fit clip in hair extensions to make this process easier for yourself. The most popular bridal hairdo is a low bridal bun, and you would need to use clip-in hair extensions. It is recommended that you stick with real human hair extensions instead of using synthetic ones.
Step 2: Apply the clip-in extensions
Applying clip-in extensions is easy, but you need to put in a few days of practice if you have no experience. The aim here is to achieve some length and thickness in your natural hair, and you would only need to use a couple of wefts. Simply section your hair a few inches above the nape of your neck and apply wefts according to your desired thickness. Create simultaneous sections above it and repeat the same.
Step 3: Prep your hair
Before getting into the hairstyle, once you have your extensions in place brush through them to remove any tangles or knots. Be gentle while doing so because you wouldn't want to loosen up any extensions. Next, you would create a centre parting in your hair, and backcomb the hair at the crown to create volume. Cover this back comb by placing some of the centre parted hair in the middle to achieve a sleek look.
Step 4: Make a low bun
To make the low bridal bun, you would need to pull back your hair into a ponytail and tie them when you want the bun to be. Once you have the ponytail secured, take another hair tie and pull that hair into it only halfway through. Pull the remaining hair around your ponytail and pin everything into place.
Step 5: Give the finishing touches
Once you have a secured bun in place, it is time to make the finishing touches. You would need to pull at your bun to make it appear voluminous and loosen the hair above it to make the bun look effortless. You can tease a couple of strands out from around your forehead to frame your frame, and put away any loose strands using hairspray or wax. You can also use flowers to give your bridal bun the perfect look.
There you have it! Creating a bridal bun for your wedding is not as difficult as many may think it is. With a little bit of elbow grease and a couple of wefts of your trusted clip-in hair extensions, you can create the perfect bridal bun in no time.


